

Step by step to perfectly fitting Hufschuhe

From recommendation to decision
I became aware of Goodsmith Hufschuhe through a stablemate. She had had the boots fitted for her horse by a Goodsmith advisor and was thrilled. Since I had previously tested hoof boots from another supplier that did not fit optimally when riding, I now wanted to try something new.
After a brief consideration I measured my horse's hooves, configured the right boot on the Goodsmith website and ordered the Hufschuh kit. Only a few days later the package arrived at my door.
Preparation and assembly – no problem with video instructions
Before I got started, I watched the assembly video several times. A friend said: "It can't be that difficult – we will get this done." So off to the stable and to work.
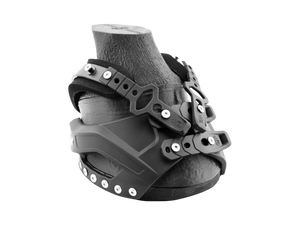
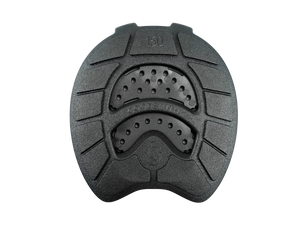
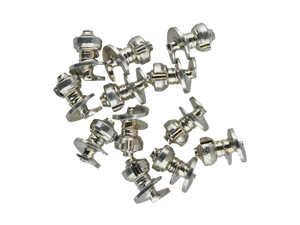
Drawing the outline of the hoof was somewhat more tricky than we thought. I held the hoof forward, positioned the plate underneath and transferred the outline with a white edding. Cutting with the angle grinder was also somewhat demanding, but with patience it worked well. For the fine sanding I used a hoof rasp – that worked perfectly. With the side parts it helps if a second person joins in, but it is doable on your own. Anyone with some experience with a cordless screwdriver will manage well – but the effort for the adjustment was worth it !
Optimise the fit and ride off
After assembly we went straight to the first ride out. One boot turned slightly, which I could then easily readjust afterwards. Since then the boots sit absolutely tight, whether at walk, trot or canter.
We have meanwhile ridden out several times, and I am very satisfied with the hold and comfort of the Goodsmith Hufschuhe. They give my horse secure footing and protection, no matter what surface we are on.
Durability and outlook
I am curious how long the base plates will last and how the wear will develop over time. The start was at any rate promising, and so far the boots have convinced me across the board.